Formatting Table Fields
Chapter Creating Professional Tables describes how you can format and modify a table. Only a few basic formatting options are explained here.
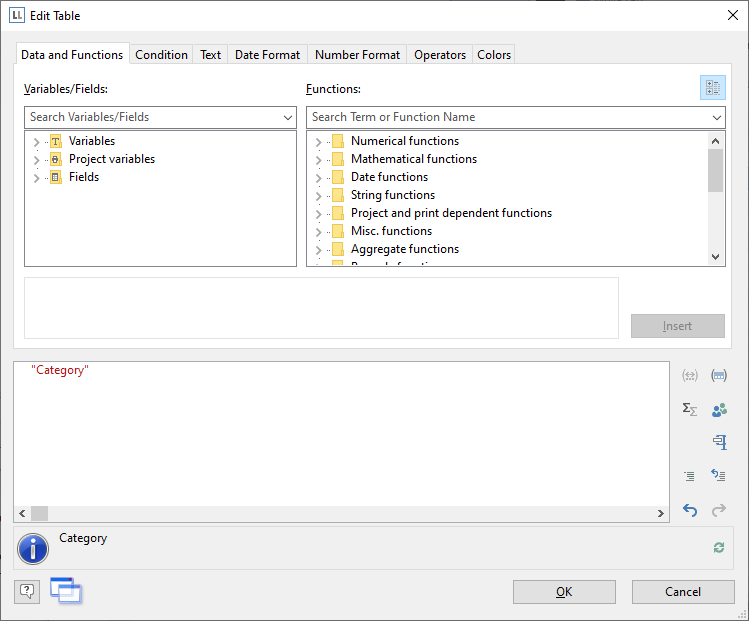
1. In the product category column title, the field name "CategoryName" is shown. Click the respective field in order to change this text to "Category". The formula wizard will now appear, which you can use to change the contents of the field. Please consider that text must be enclosed in quotation marks.

Figure 2.15: Formula wizard with text input
2. In addition, we want to format the unit price as currency and align the entire column to the right. You will find both formatting options in the tab Table Tools > Table (mini-toolbar). Click in the upper left corner to select the field containing the unit price.

Figure 2.16: Selecting a single field
3. Click the button "% Format" for the formatting dialog
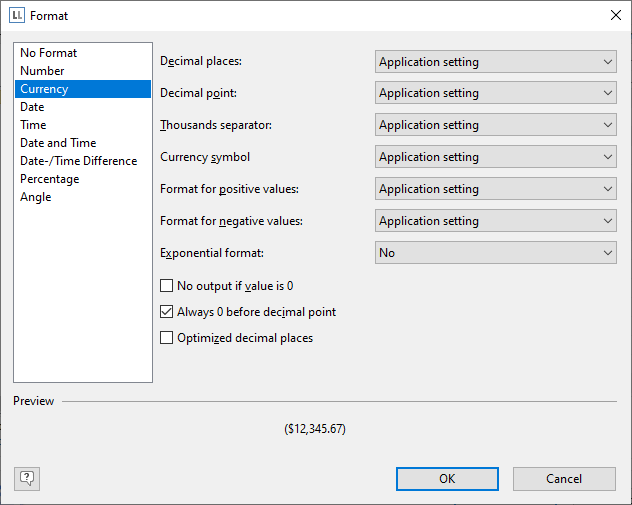
4. A selection dialog will now appear in which you can select the formatting that you want for the numeric field. To do this, choose the type on the left hand side i.e. "Currency". In the right pane, you can specify the currency formatting in detail. The settings for the relevant application will be used in each case as standard. Alternatively, you can choose the system setting or a user defined setting.

Figure 2.17: Formatting dialog
5. Finally, select both fields (the header and the data line) to align them to the right. To do this, hold down the Ctrl key and select both fields by clicking in the upper left corner in each case. Then click the button for right alignment.

Figure 2.18: Multiple field selection