Reverse Side
Project > Report Sections can be used to define a reverse side for printing. The corresponding values will be evaluated at print time and the file will be output on every reverse side or only on the first or after the last page.
This function is useful to print the general terms and conditions on the reverse side of the last page of an invoice for example.
Proceed as follows:
1. Open the dialog via Project > Report Sections.
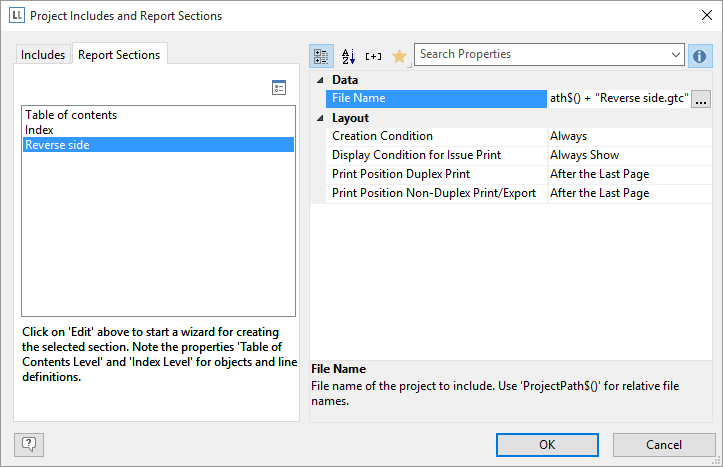
2. Select the "Reverse Side" section.

Figure 8.13: Dialog to create a Reverse Side
3. Define the print position for duplex print in the property list: Reverse Side of the First Page, Reverse Side of All Pages, After the Last Page. Define also the position for Non-Duplex Print or Export.
Hint: In the preview the reverse side is displayed at the end. |
4. Click on the "Edit" button at the top in order to launch the wizard for creating the Reverse side.
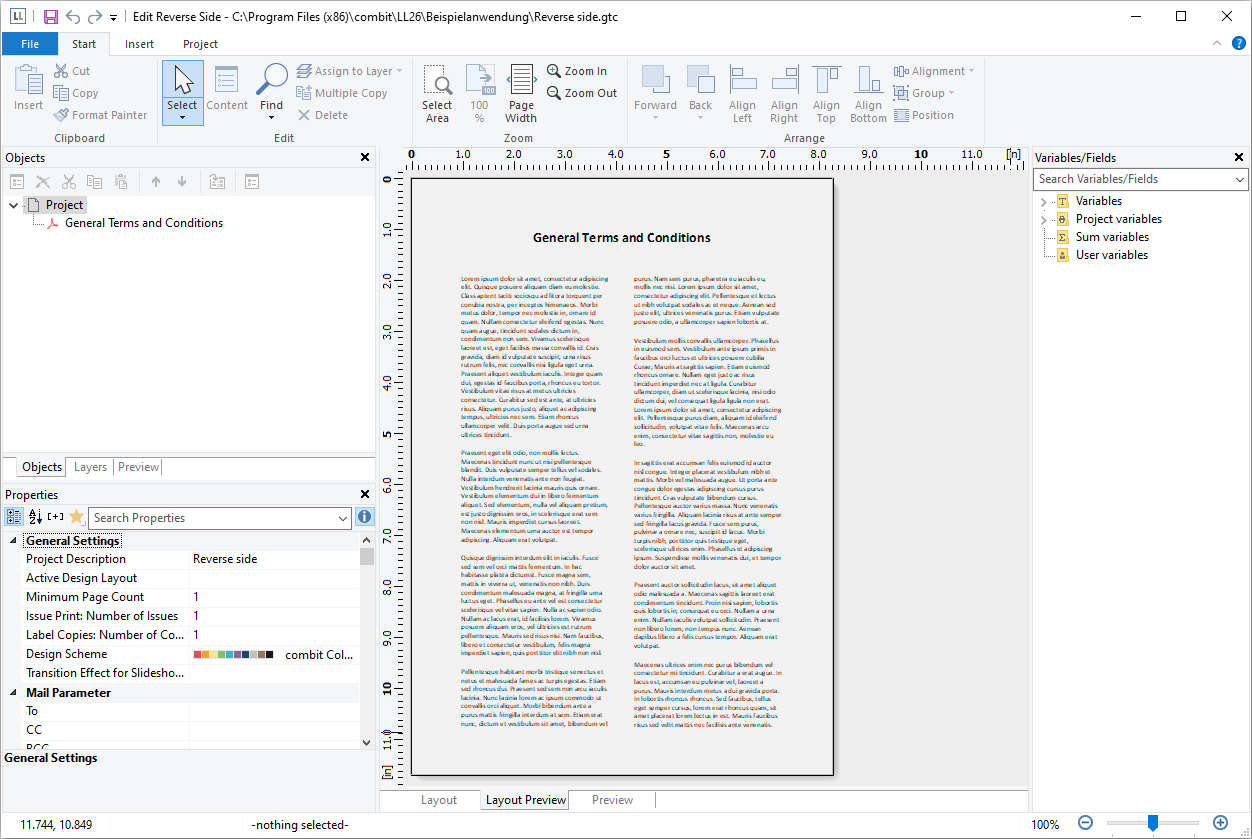
5. A dialog will open in which you will be able to create a new project. During this process you will be able to use a pre-configured, adjustable standard template. Alternatively, you could also open a pre-existing project.
6. Adjust the template as needed. You can open this print template and work on it at any time with the "File Name" property.

Figure 8.14: Separate project for the reverse side